Hello there, I am delighted to be over on the My Favorite Things YouTube channel, sharing a card using the adorable YUZU Ear For You set. These elephants and mice are so cute! I thought I would make a one layer card today using masking.
PLEASE
NOTE: This post contains affiliate links. Please see below for my full
disclosure.

I started off my card by stamping the images (elephant, mouse and tree log) from the MFT YUZU Ear For You Stamp Set onto masking paper. I then fussy cut them out using scissors. I placed them onto a scrap piece of paper so that I could figure out where I wanted to stamp them on the panel. This masking map/template is a great way to make sure you get the placement of the images exactly where you want them.

I die cut a panel of white cardstock using the largest of the MFT Stitched Eyelet Lace Rectangle STAX Die-namics. Using the masking map/template as a guide, I stamped the images on top using black ink, adding the masks for the images where needed. I also stamped the sentiment from the set onto the panel too. I added ink blending around the images with Distress Inks and blending brushes.

I used Twisted Citron for the grass/ground and Mermaid Lagoon for the sky. I then removed the masks and coloured the images using Copic Markers (the colours that I used are listed below the supplies area). I adhered another of the die cut panels to the back of the stamped one (for stability) and then adhered a mini (3.5" x 4.75") card base to the back. To finish off, I added white gel pen dots to the elephant's cheeks, black glaze pen to his eyes and clear glaze pen to the nose of the mouse.
VIDEO:
Here is the video showing how I made the card:
If you are viewing this blog post via email subscription, you can watch the video HERE on YouTube.
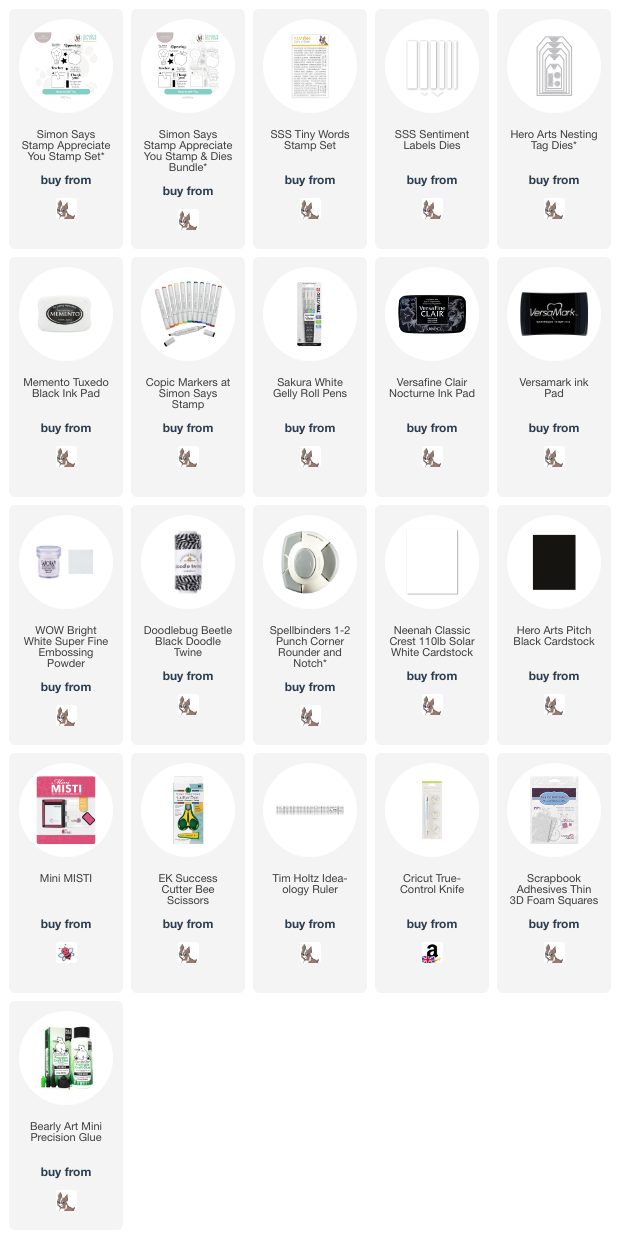
SUPPLIES:
Here are the links to
what I have used on the project. Affiliate
links are used on some products. This means that if you make a purchase after
clicking on my link, I receive a small commission with no extra cost to you. I
truly appreciate your support when using these links. Please click on the logo below
the product to shop at your favourite store. All products were personally
purchased except those from Clearly Besotted, Hero Arts or those marked with an
asterisk (*) which were kindly sent to me to use. You can read my full
disclosure here.
COPIC MARKERS: Tree log - E49, E59, E57, E55. Elephant - C8, C6, C5, C4, C3, C1, C0, RV55, RV52. Mouse - E27, E25, E23, E21, RV66, RV55, RV52. Grass - G29, YG17, YG23, YG01. Sky - B02, B01.
Whilst it is a little more work, I do like that the images are all one, rather than them being die cut and then adhered. However, I still think that would look good too! Thank you so much for stopping by today, I hope you have a wonderful day!


.jpg)