Hi friends!
I am delighted to share a NEW projects with Old and New products. The company Altenew's name originates from old (Alt in German). When you combine Alte and New, that became Altenew.
Products used in this project:
New: From Land To Sea 3D Embossing Folder, (Simon Says Stamp, Scrapbook. com)
Stunning Sakura Bundle, ( SSS Stamp, Stencil, Die) Dreamscape Ensemble
Old: Rose Petal Enamal Dots-Ombre, , Ombre Alpha Stamp, Blushing Blooms Design Paper ,
Versatile Vases (Scrapbook. com, Simon Says Stamp Stencil)
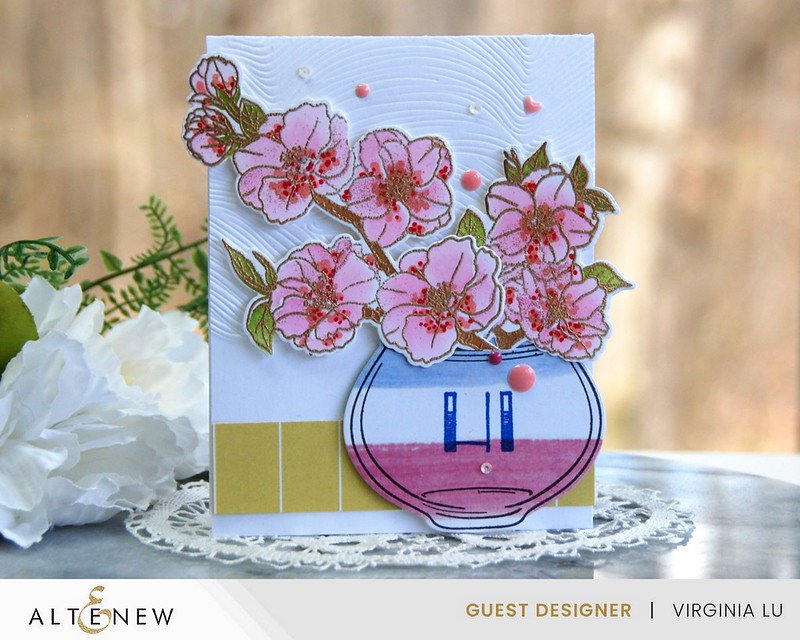

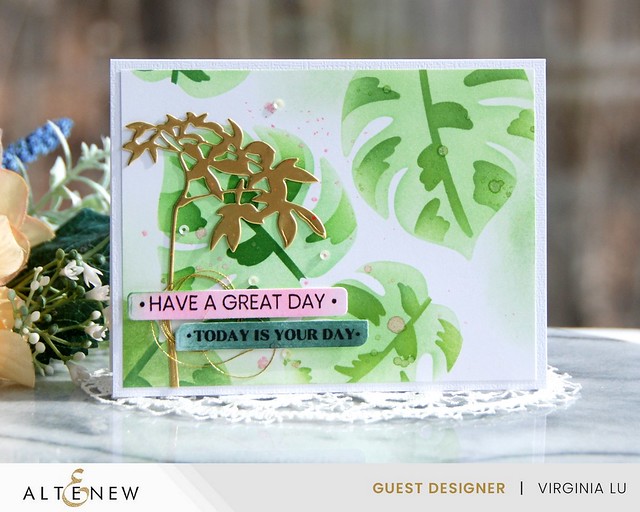
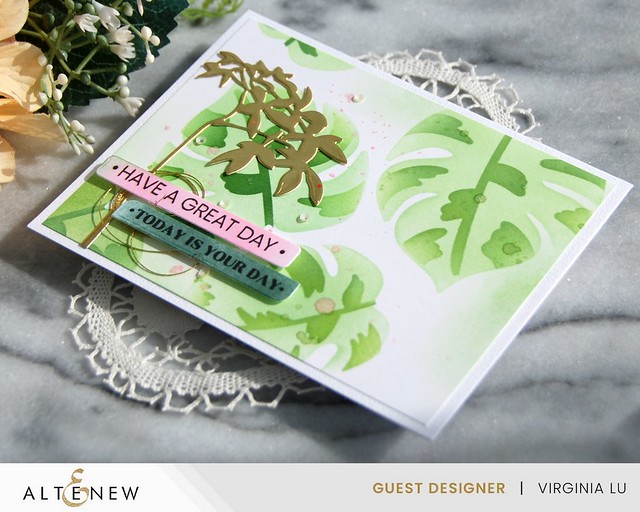
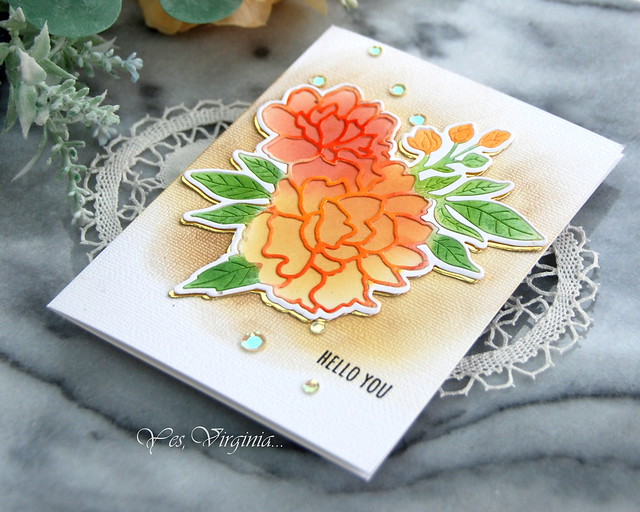
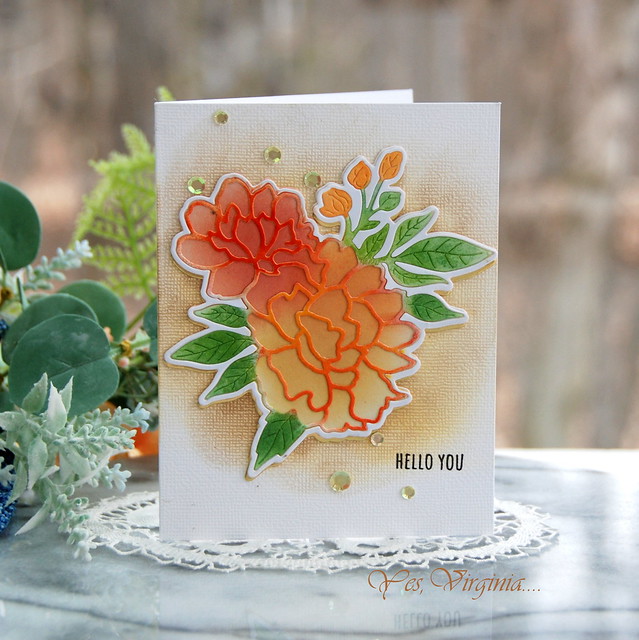
I have a few ideas to share on this project. It is always a good idea to mix and match with your stamp sets and dies. Often times, the result is almost always quite nice and unique!

Noticed how I re-arranged the Stunning Sakura Bundle by trimming off the branch and fitted them into the Versatile Vases? They totally worked!

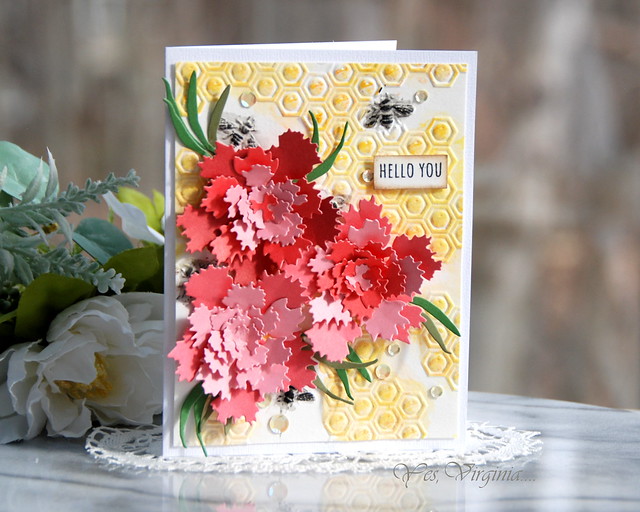
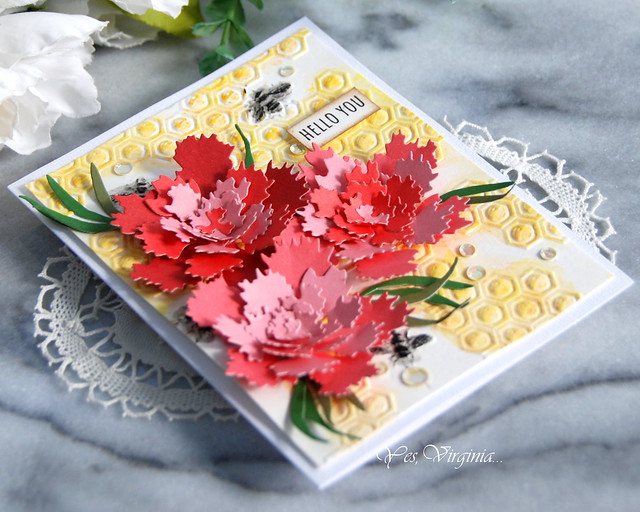
My next idea is to use the embossing folder creatively in a different way. Instead of using From Land To Sea 3D Embossing Folder as in the landscape, I tilted the folder upside down and used it for added textures.

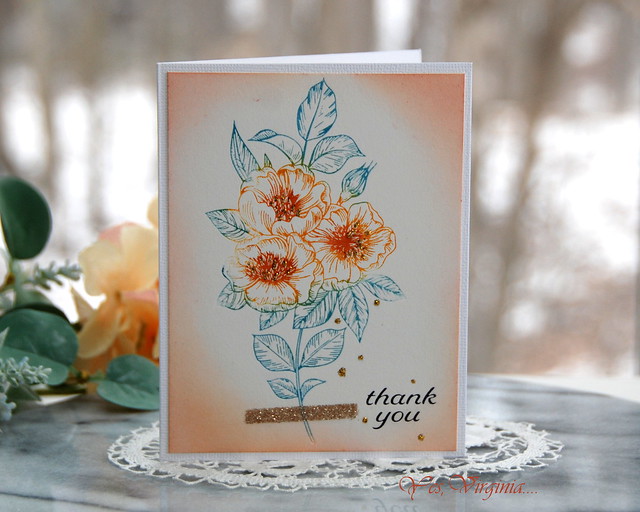
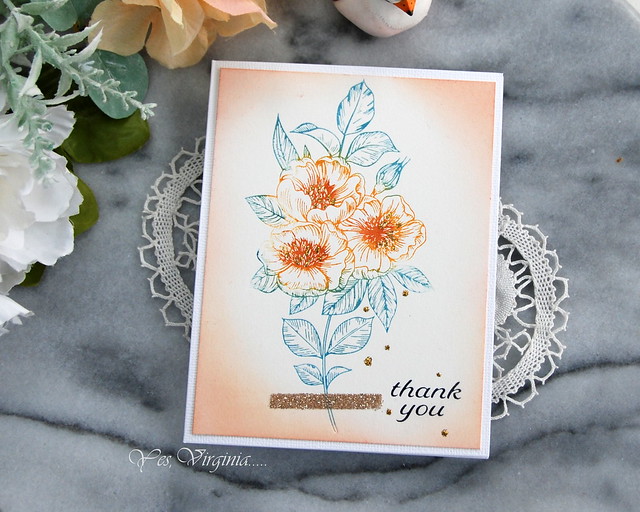
My last idea is to use pattern paper to bring out the COLORS! Stamps and dies are awesome, but do you know that the pattern paper really add those extra pops of colors? I did just that with the vase and background. I hope that you enjoy these ideas in this project. You can check out the Instagram Hop HERE. I am always thankful for your visits, comments and use of my text products (affiliated) link.
Thanks for stopping by!